Are you unsure if your hips are too tight? Here’s a quick test: Stand up and look at your feet.
Your hip muscles are definitely overused and need to be stretched if your toes point outward rather than straight ahead.
People who sit for lengthy periods of time at work often develop tight hip flexors and rotators, as well as weak gluteal muscles.
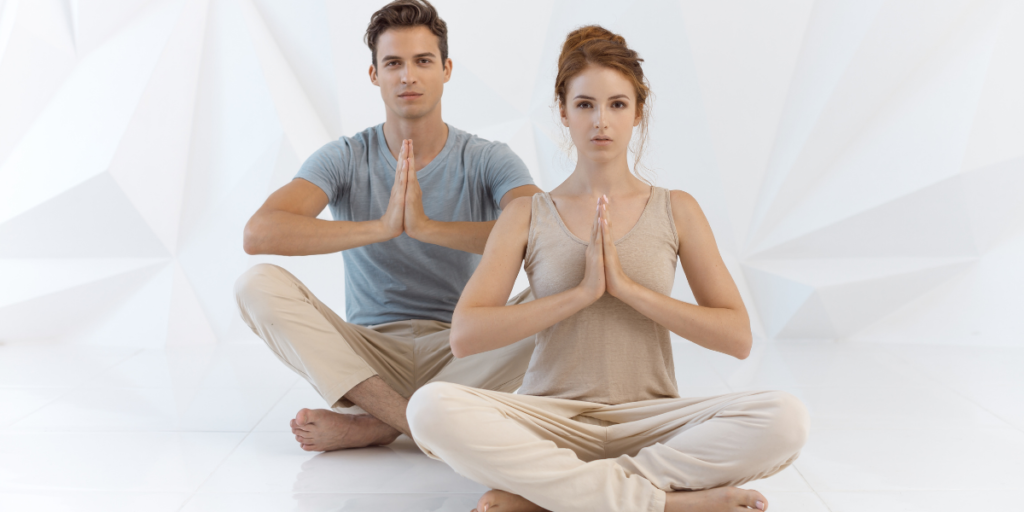
Let’s Have A Discussion About Those Tight Hips
Stretching and strengthening opposing muscles are necessary for a balanced body that feels and moves well. This should be done on a regular basis to keep your musculoskeletal system balanced over time. Many of us have difficulty releasing tension in our bodies. We spend a lot of time bending and stretching our muscles, but many of us, especially those who suffer from chronic pain, don’t get the relaxation we need to reset our movement patterns. Yoga emphasizes breath and attention, giving it the ability to truly alter the body’s potential.
You will feel more mobile and likely have less discomfort if your hips are adjusted, which will contribute to better happiness and wellness. Tight hips cause discomfort and suffering not only in the outer hip and front of the hip but also in the low back and can lead to additional kinetic chain disorders.
5 Simple Yoga Poses To Relieve Tight Hips
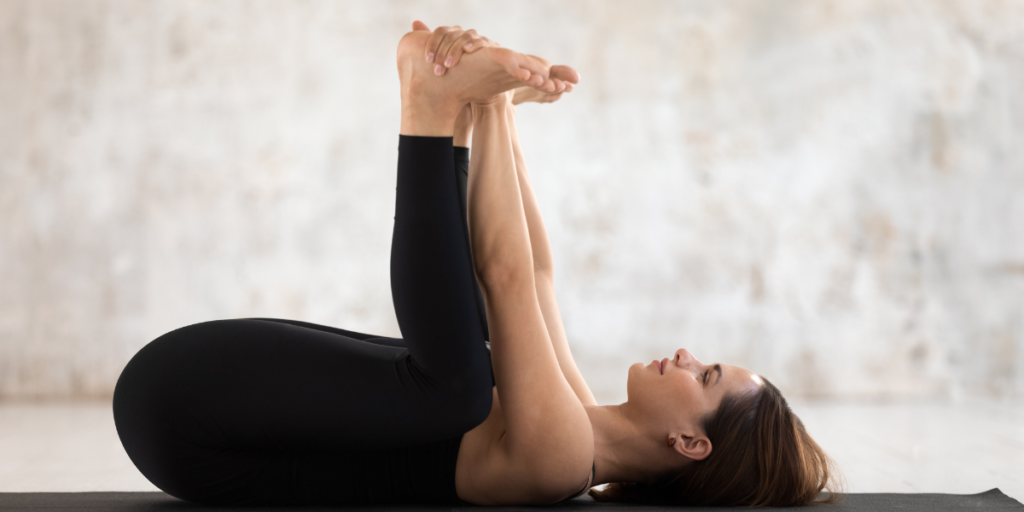
1. Happy Baby Pose
Pull your knees to your chest while lying on your mat. Position your hands on the outsides of your feet and spread your knees wider than your body. To create resistance, press your feet against your palms while pulling down on your feet. Take a deep breath and hold it for at least 30 seconds.
2. Frog Pose
Get down on your hands and knees, palms on the floor, and knees propped up on blankets or a mat. Slowly expand your knees until you feel a comfortable stretch in your inner thighs, maintaining touch with the floor on the inside of each calf and foot. Keep your ankles in line with your knees at all times. Reduce your weight to your forearms. Spend at least 30 seconds here.
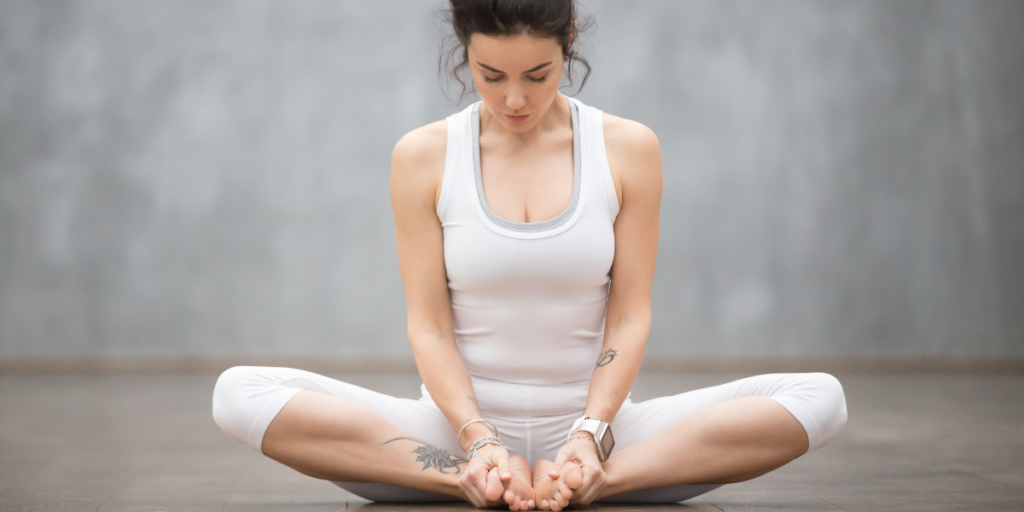
3. Bound Angle Pose
With your knees bent and your feet flat on the floor, lie on your mat. Bring the soles of your feet together and bend your knees out to the sides. Placing one hand on your heart and the other on your tummy is a good way to start. For at least 30 seconds, stay in this posture.
4. Thread The Needle
Place the left ankle just below the right knee, forming a “four” with the left leg. Pass your left arm through the hole you made with your left leg and clasp your hands behind your right knee. Lift your right foot off the ground and draw your right knee toward your chest while flexing your left foot. Hold for 30 seconds before switching sides and repeating the process.
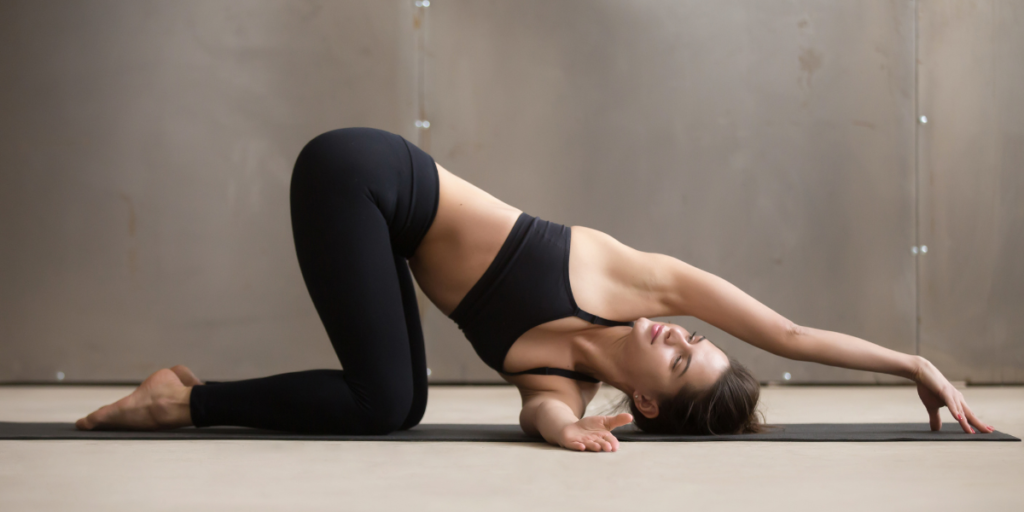
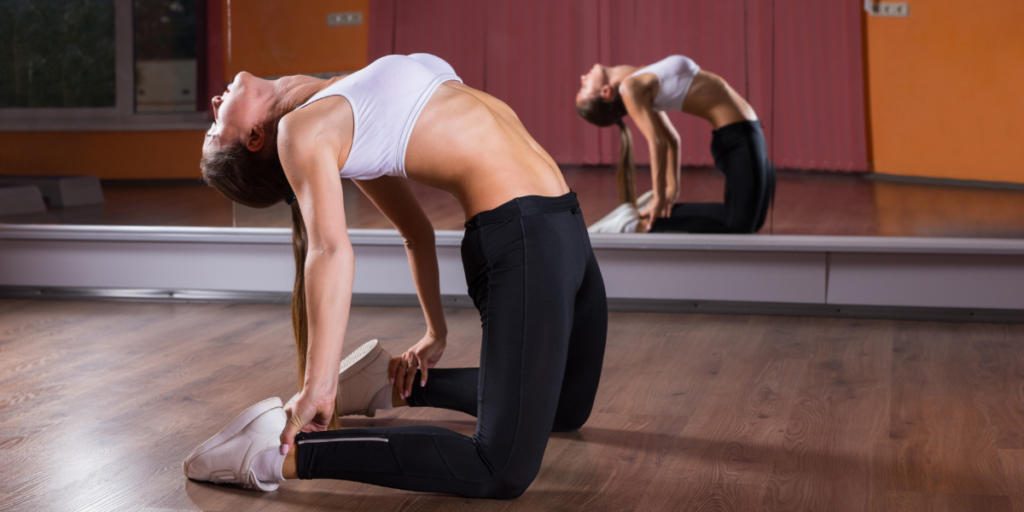
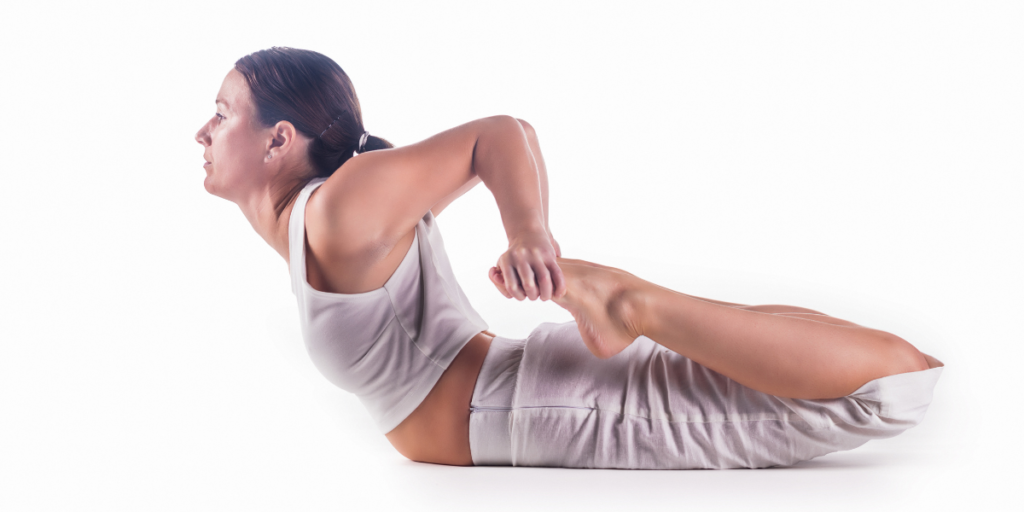
5. Camel Pose
Begin by kneeling on your mat, hips directly over knees and knees hip-width apart. Your shins and the tops of your feet should be pressed against the mat. Place your palms above your buttocks and bring your hands to your low back, fingers pointing down. Inhale and elevate your chest, then begin to lean your torso back gently. Bring your right hand to your right heel and your left hand to your left heel from here. Press your thighs forward until they are parallel to the floor. Keep your head in a reasonably neutral posture, or lower it back if it does not strain your neck. 30 seconds of holding