DANCER POSE
Natarajasana (nat-ah-raj-AHS-uh-huh)
BENEFITS OF DANCER POSE
- Improves balance
- Improves concentration and focus
- Stretches chest, shoulders, stomach and hip flexors
SUMMARY OF DANCER POSE
Dancer Pose, or Nataraja, is a depiction of Shiva as the divine dancer, literally translated as dance lord (“nata” meaning dance, actor or mime, “raja” meaning king or royal). The full name of this pose is therefore The Lord of The Dance Pose, often shortened to Dancer Pose and is sometimes referred to as Royal Pose. Its main classification is a standing balance, but it also encompasses a backbend, a heart-opener, and hip flexor extension, as well as a shoulder stretch.

DANCER POSE TUTORIAL
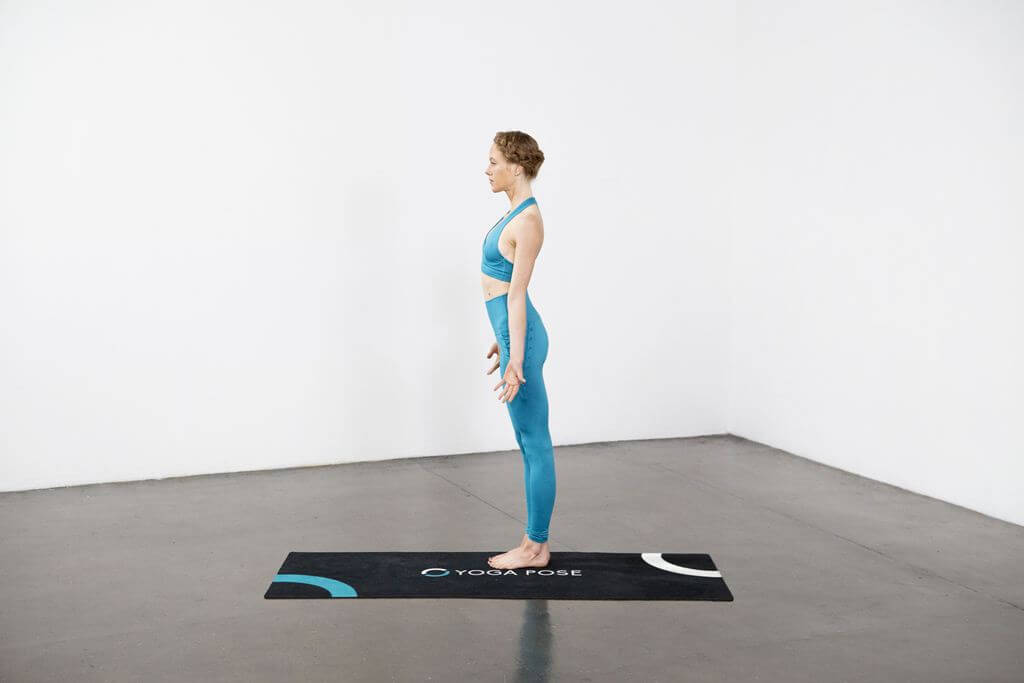
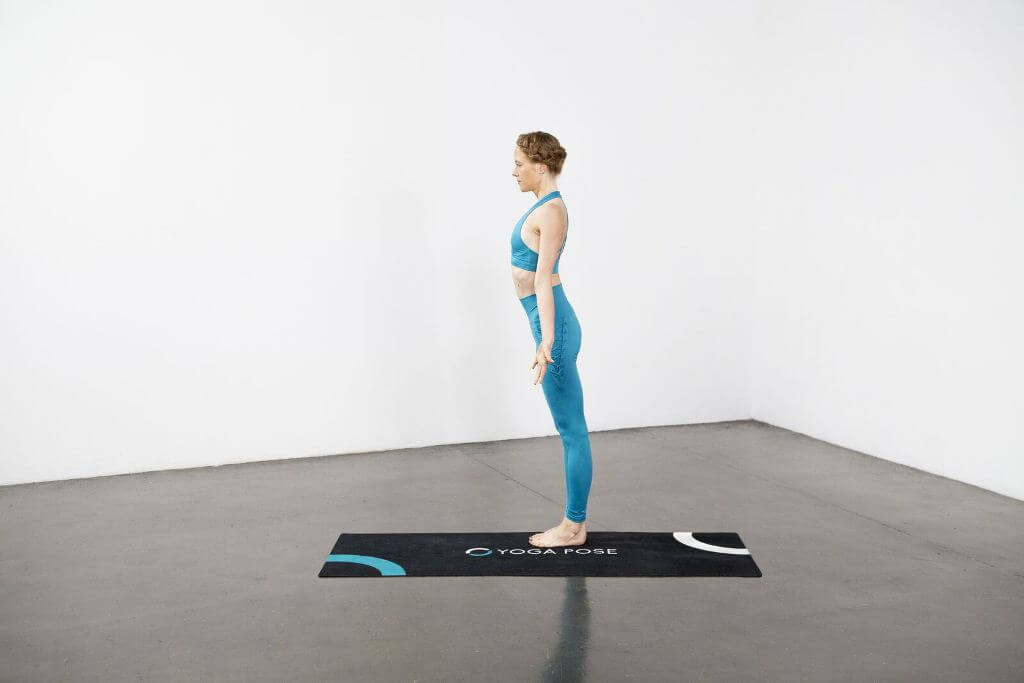
1.) Start in Mountain Pose (Tadasana). Take a moment to tune into your breath and root down through your feet
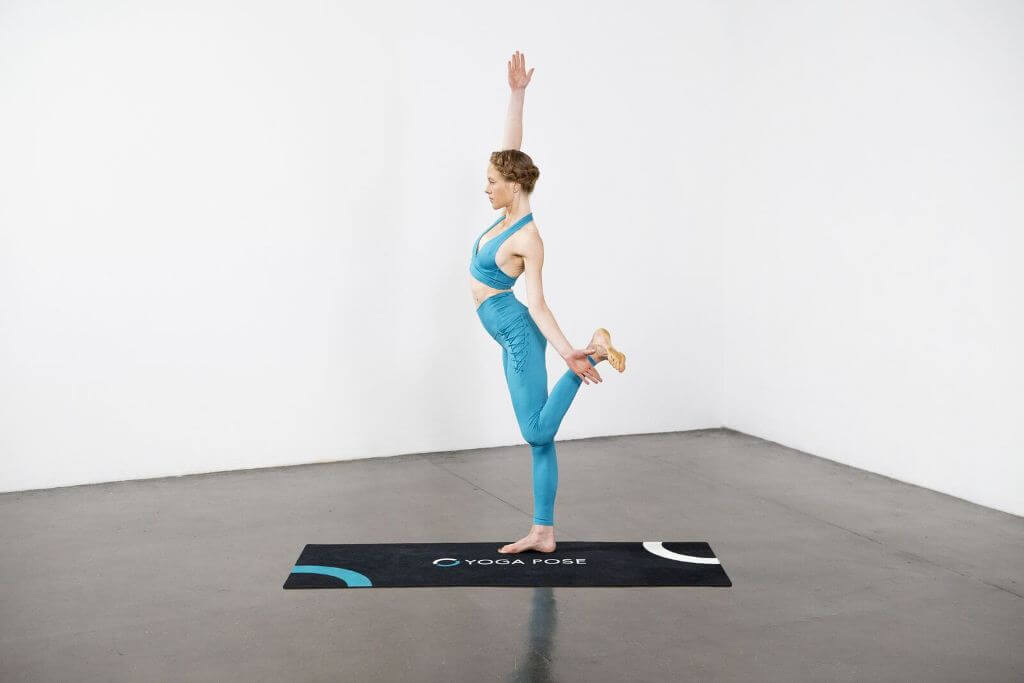
2.) Unlock your left knee and begin shifting your weight into your right foot. Once you feel balanced, slowly lift your left heel towards your left buttock.
3.) Rotate externally through the left shoulder, turning your left thumb to point behind you. Catch the inner arch of your left foot. Take 2-3 breaths to get established.
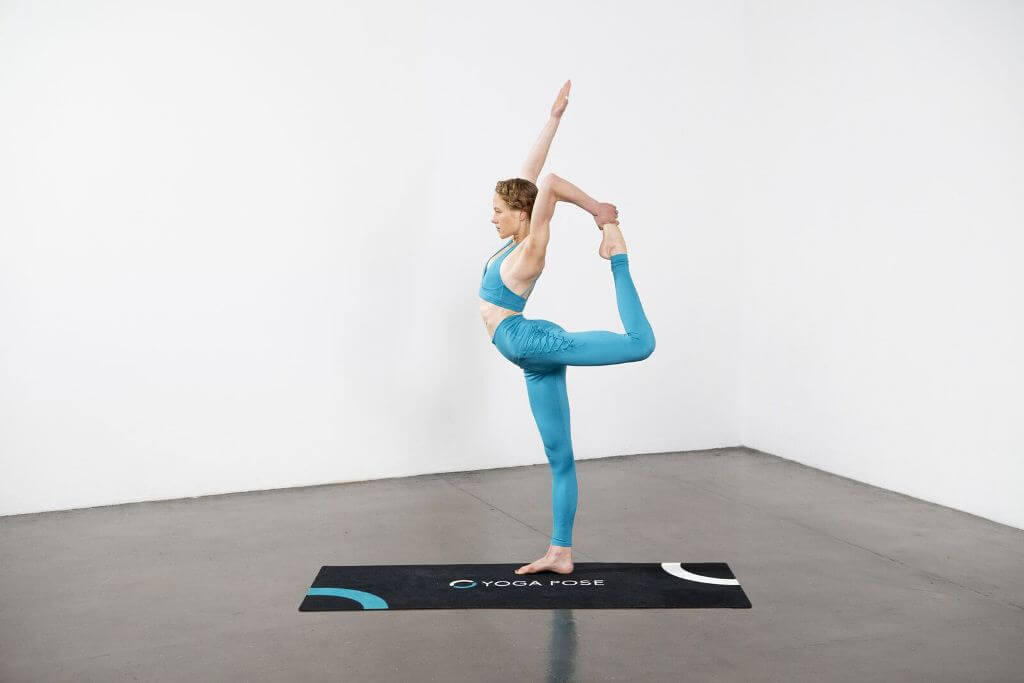
4.) Extend your right arm forward. On the next exhale, start lowering the chest forward as you raise the left knee. Keep your right arm parallel to the floor throughout the whole process.
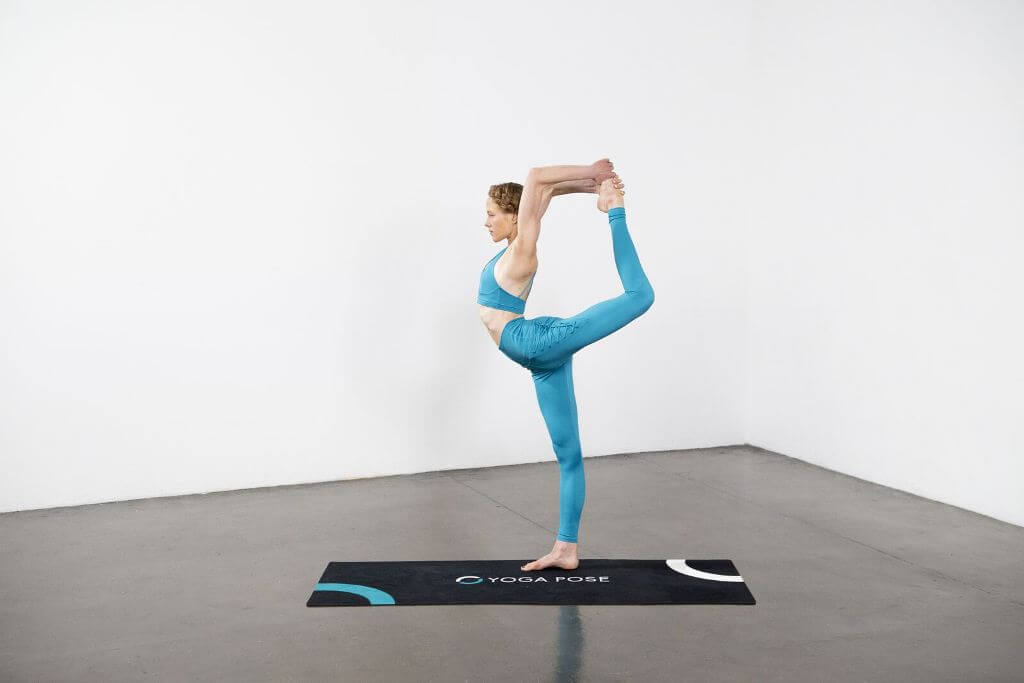
5.) Stay here for 2-3 breaths, finding your balance and establishing your body’s limits. On the following exhale, begin pressing the top of your left foot into your hand, lifting your left heel away from your bottom.

6.) Take 5-10 breaths in Dancer Pose and reverse your transition back into Mountain Pose. Try to exit the pose with control.
7.) Give your limbs a short rest and repeat on the other side.
HEALTH BENEFITS OF DANCER POSE
DANCER POSE FOR BALANCE AND COORDINATION
Although Dancer Pose can be adapted for various experience levels, it always requires both physical and mental coordination to perform it with correct form. Combining a backbend, shoulder stretch, heart opener and balance is tough, but with regular practice it gets easier and offers more variations!
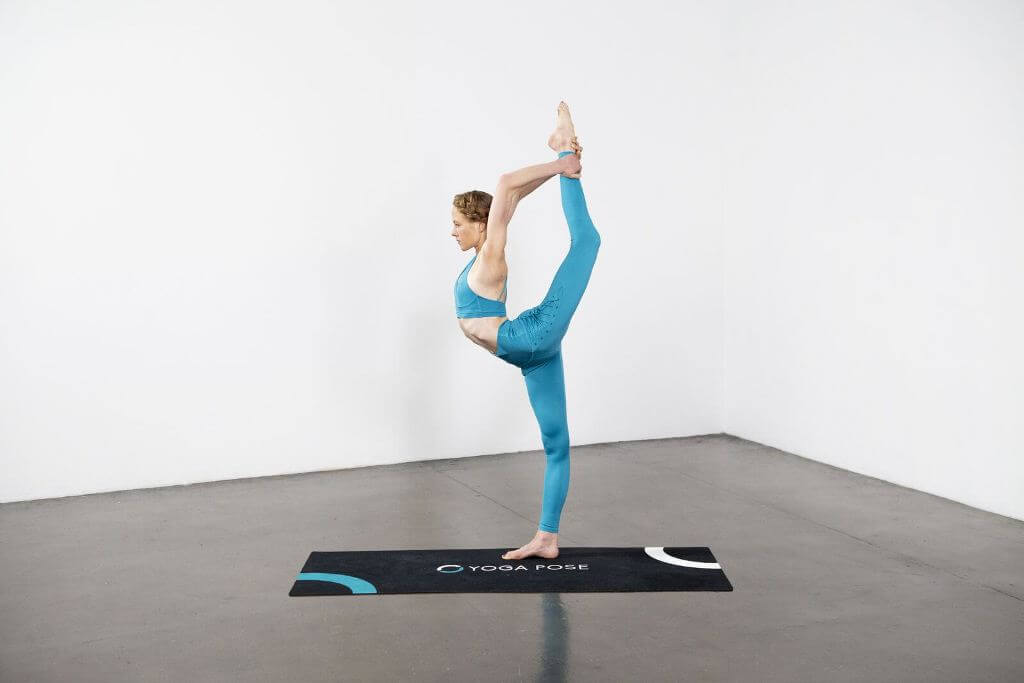
DANCER POSE FOR SPINE FLEXIBILITY
With Dancer Pose, you are drawing a beautiful curve from the crown of your head down to the hip and back towards the toes of your top foot. With an overhead grip (see modifications) you are creating a complete circle with your body. It really requires a lot of effort on your part to extend through every part of your spine – from the middle and lower back to thoracic and cervical spines. Since this is such an intense backbend, make sure to build your flexibility gradually over time.
Contraindications & Cautions
- Headache
- Spine injuries and previous surgeries
- Previously dislocated shoulders
- Balance disorders
Modifications & Deepening the Pose
MODIFYING DANCER POSE FOR BEGINNERS
If you are just starting out and the pose seems a little too complex, consider breaking it down and only going as far as Step 3. You could extend your right arm forward or up, or use it to help you balance if you are near a wall. Once you gain some confidence, you could follow through Step 4. Remember, your chest doesn’t have to go any lower than the amount of lift you can generate in the back knee. Eventually you should be able to find your way to Step 5 and exit the pose with control but take as much time as you need to get there.
MODIFYING DANCER POSE FOR ADVANCED PRACTITIONERS
The full expression of the pose uses an overhead grip, i.e instead of reaching back with your left arm, you’d be reaching up through the left elbow, with the hand gripping your foot level with your neck or shoulder blades. This variation requires a lot more heart-opening, shoulder flexibility and hip extension. You could practice with a yoga belt to build up the strength and the confidence until you can fairly comfortable hold your foot behind you with one or both hands. Alternatively, you could try the mermaid grip, in which your foot would rest in the elbow crease of the same side arm, as the opposing arm would be lifted overhead to allow the hands to be bound together.